This post may contain affiliate links. Please see our disclosure policy.
No need to choose between biscuits and cornbread again! These Buttermilk Cornbread Biscuits combine the tender, flaky layers of a homemade biscuit with the slightly sweet flavor and texture of cornbread. Fine yellow cornmeal brings that familiar cornbread flavor, while the cold butter, buttermilk, and folding technique give you the layers you want from a homemade biscuit. The result is a buttery, golden biscuit that work for any meal of the day, but they’re also impressive enough to earn a spot on your holiday table.
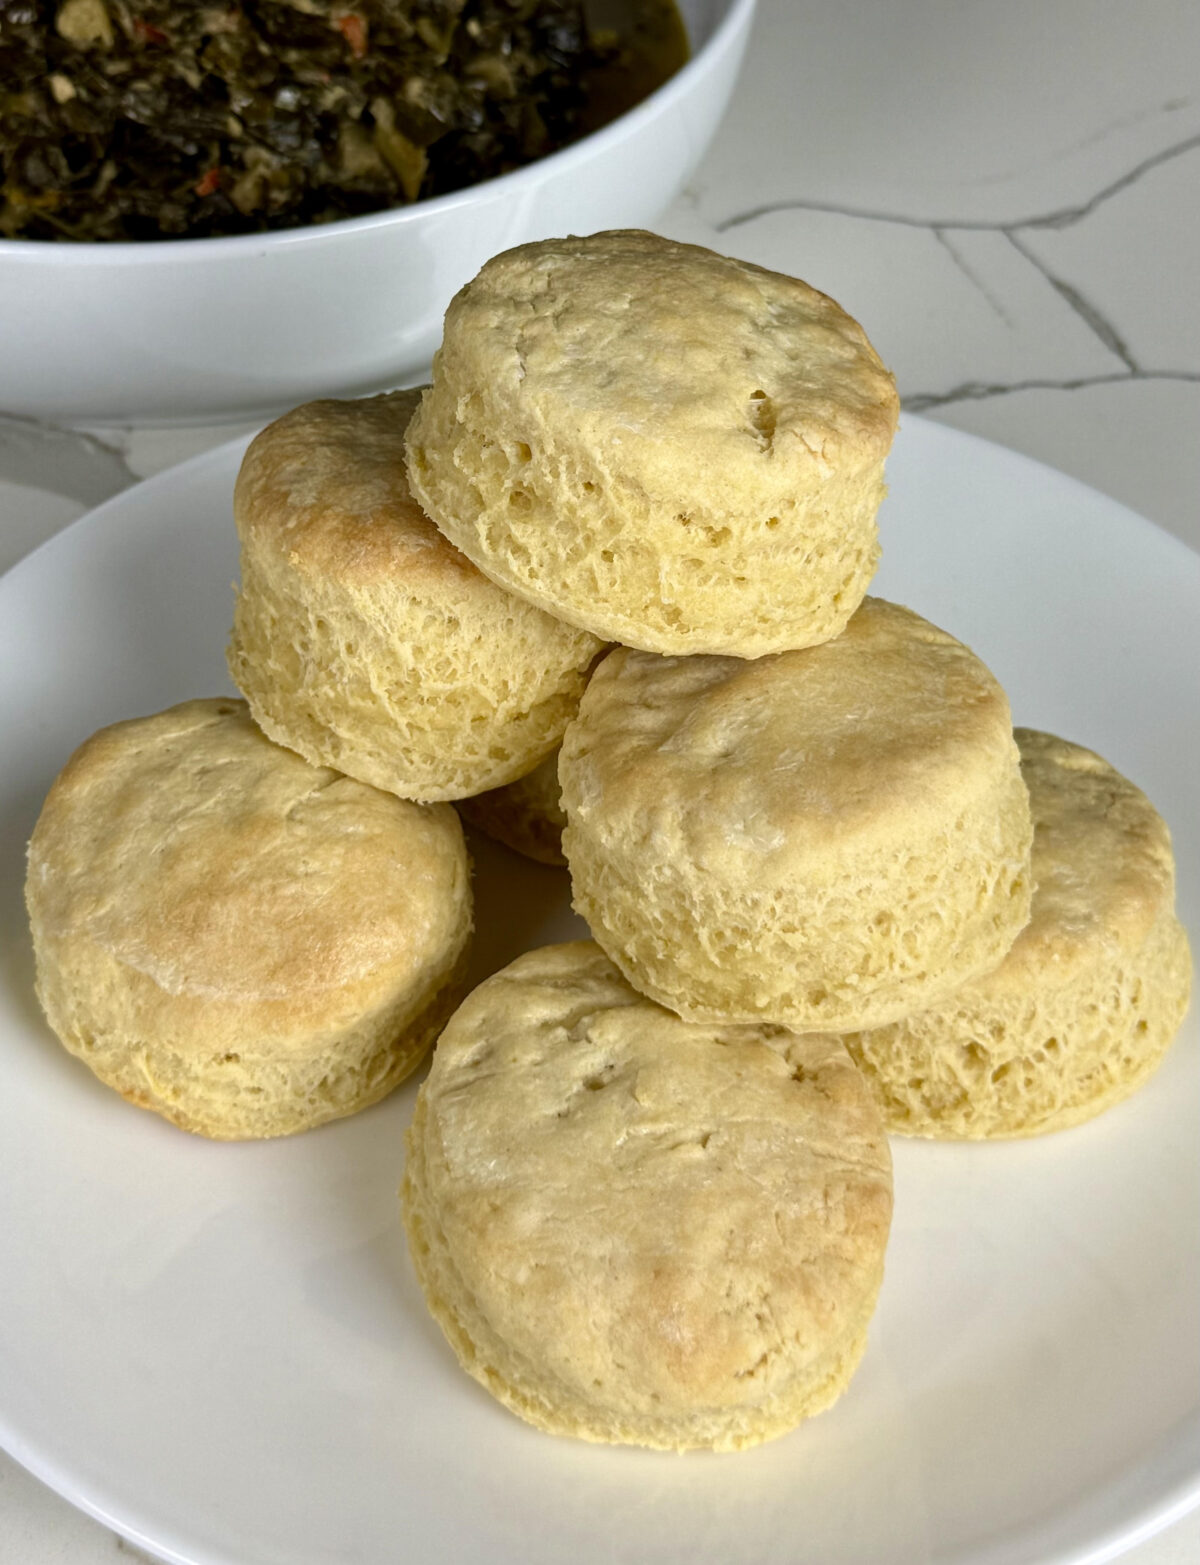
Why You’ll Love These Cornbread Biscuits
These biscuits fall right in that sweet spot between traditional biscuits and cornbread. The cornmeal adds flavor and a little texture, but using all-purpose flour as the base keeps them tender instead of dense.
There are also just three tablespoons of sugar in the entire batch. It’s enough to give you that hint of sweetness you expect from cornbread without making the biscuits overly sweet. That means you can pair them with savory dishes or split one open and add butter, honey, or jam.
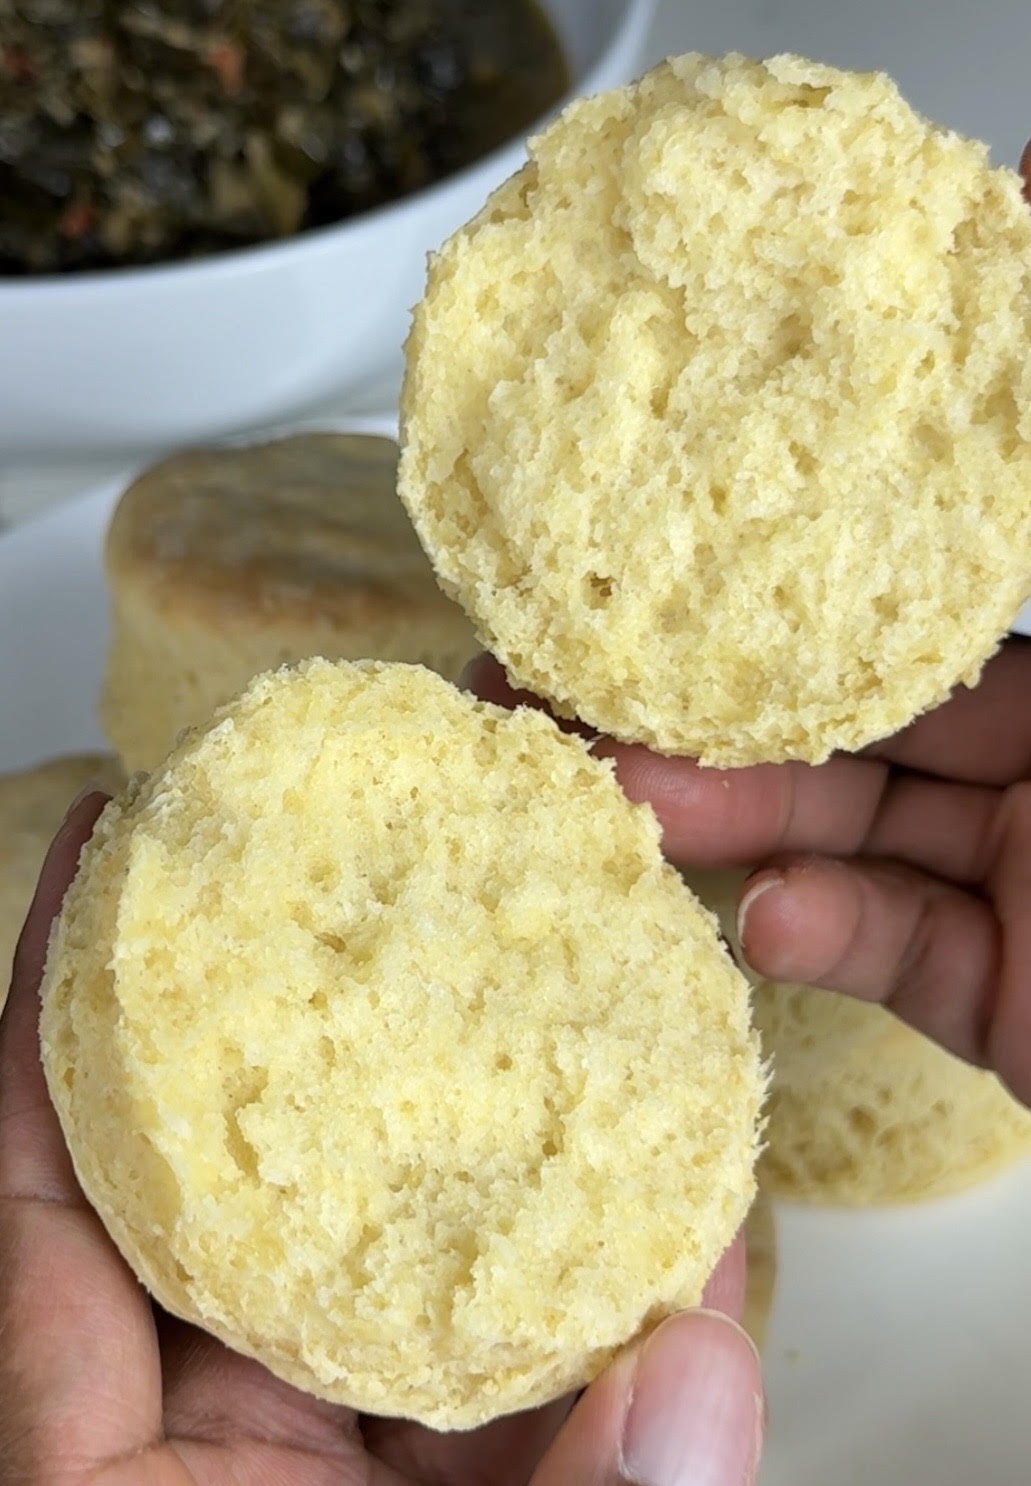
And then there are the layers! Folding the dough several times before cutting the biscuits creates those beautiful layers that make homemade biscuits so satisfying to pull apart.
The Secret to Flaky Buttermilk Cornbread Biscuits
First things first: keep the butter and buttermilk cold.
I grate an entire stick of very cold butter directly into the dry ingredients. Grating the butter makes it easier to distribute throughout the flour and cornmeal without having to work the dough too much. And if you can still see some little pieces of butter when you’re finished mixing, that’s a good thing.
Once the dough comes together, the folding technique does the rest of the work. Rolling the dough out, folding it over itself, and rotating it between folds helps create layers throughout the biscuits.
When it’s time to cut them, press your biscuit cutter straight down and pull it straight back up. Don’t twist! Twisting can seal the edges and keep those beautiful layers from rising as freely in the oven.
Finally, refrigerate the cut biscuits for about 15 minutes while your oven preheats. That gives the butter another chance to firm up before the biscuits hit the heat.
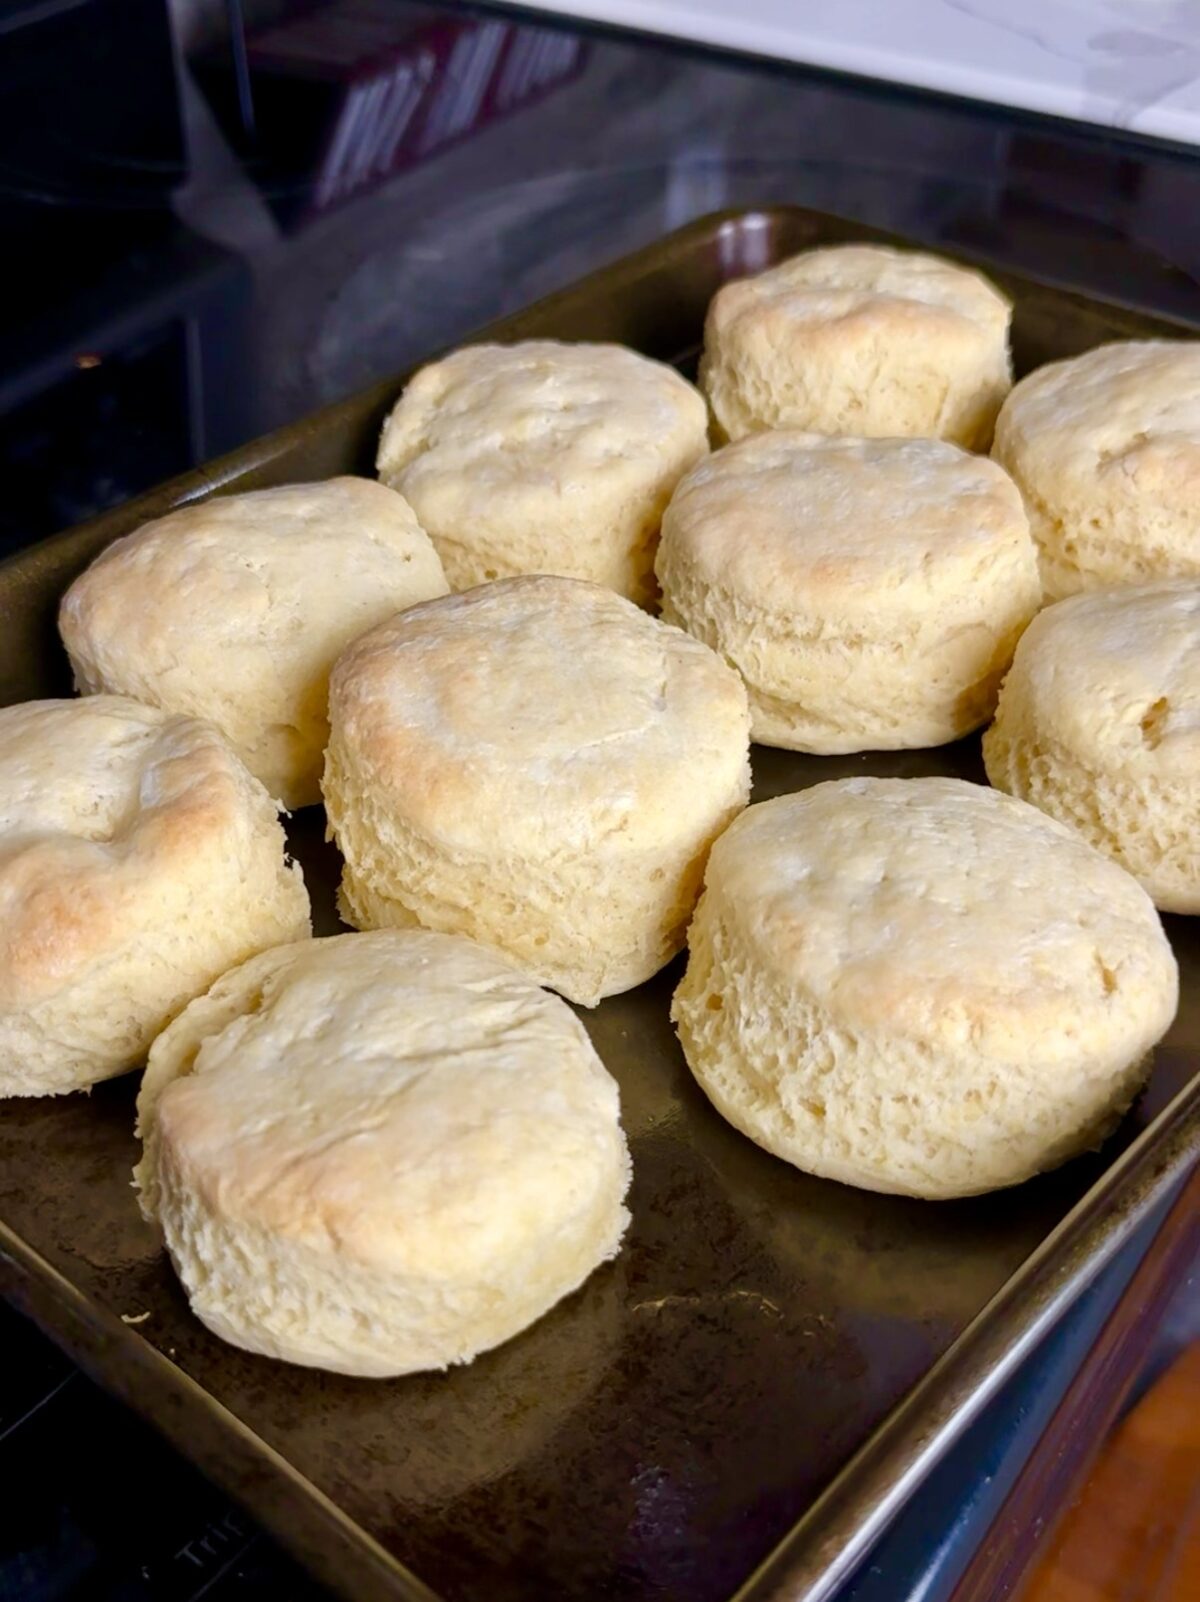
What to Serve with Buttermilk Cornbread Biscuits
One of my favorite things about these biscuits is how versatile they are.
For breakfast or brunch, split one open and serve it warm with butter, honey, or your favorite jam. Add eggs and breakfast meat, and you have a full meal.
For lunch or dinner, serve them alongside chili, greens, stews, roasted or fried chicken, braised meats, or just about any comfort food that could use something warm and buttery on the side.
And for the holidays? Put them right in the bread basket. If your table usually has cornbread, biscuits, or dinner rolls, these give you a little bit of everything in one.
Tips for Making the Best Cornbread Biscuits
- Keep your ingredients cold. The butter and buttermilk should stay refrigerated until you’re ready to use them. In fact, I like to freeze my butter for an hour before I need it. If your dough starts getting too warm while you work, you can refrigerate it briefly before continuing.
- Don’t completely work in the butter. It’s okay to have visible pieces of butter throughout the dough. You don’t want to blend everything into one completely uniform mixture.
- Use fine yellow cornmeal. Fine cornmeal incorporates more easily into the dough and gives the biscuits corn flavor without making their texture overly coarse.
- Be gentle with the dough. Bring it together until it holds its shape, but avoid unnecessarily kneading or working it.
- Fold for those layers. The repeated folding is an important step. It helps create the layered structure that gives these biscuits their biscuit-like texture.
- Cut straight down. Whether you’re using a biscuit cutter or a round drinking glass, press straight down and come straight back up without twisting.
- Don’t skip the refrigerator. Chilling the shaped biscuits before baking helps keep the butter cold until they go into the hot oven.
Storage and Reheating
Store leftover biscuits in an airtight container at room temperature for up to 2 days or in the refrigerator for up to 5 days. Reheat them in the oven or toaster oven until warmed through. To freeze, allow the baked biscuits to cool completely, then place them in a freezer-safe
I Hope You Enjoyed Making These Easy Buttermilk Cornbread Biscuits!
If you’re usually trying to decide whether to put cornbread or biscuits on the table, now you don’t have to. These Buttermilk Cornbread Biscuits give you that familiar cornmeal flavor along with buttery layers you can pull apart with your hands.
Serve them for breakfast, add them to Sunday dinner, or bring out a basket for the holidays. Just make sure you eat at least one while it’s still warm!
If you try this recipe, let me know how it turns out. I’d love to hear from you!
Follow me on Instagram, Facebook, YouTube, and TikTok where I share new dishes, tips, and real-time cooking in my kitchen.
Easy Buttermilk Cornbread Biscuits
Equipment
- Large mixing bowl
- Flour sifter or fine-mesh sieve
- whisk
- Box grater
- Rubber spatula
- Rolling Pin
- Biscuit cutter or round drinking glass
- Nonstick baking sheet
Ingredients
- 2 cups all-purpose flour, plus a few additional tablespoons for dusting
- 1 cup fine yellow cornmeal
- 3 tbsp granulated sugar
- 1 1/2 tbsp baking powder
- 1 1/2 tsp salt
- 8 tbsp (1 stick) unsalted butter, very cold
- 1 cup buttermilk, very cold
Instructions
- Sift the all-purpose flour, cornmeal, sugar, baking powder, and salt into a large mixing bowl. Whisk the dry ingredients together to make sure everything is evenly combined.
- Grate the very cold butter directly into the flour-cornmeal mixture. Using clean hands, gently cut the butter into the dry ingredients until it is evenly distributed. It’s okay if some small chunks of butter remain.
- Create a well in the center of the flour-cornmeal mixture, and pour in half of the cold buttermilk. Use a rubber spatula to gently fold the dry ingredients into the buttermilk until the dough begins to hydrate. Add the remaining buttermilk, and use your hands to gently press the dough together.
- Turn the dough out onto a clean, dry, lightly floured work surface. Continue gently bringing the dough together until it is no longer crumbly and can be formed into a ball.
- Sprinkle a little flour over the dough, and use a rolling pin to roll it to about 1 inch thick. Fold the dough over itself, turn it 90 degrees, and roll it out again. Repeat this process about 8 times to create layers in the biscuits.
- Roll the dough to about 1 ½ inches thick. Using a biscuit cutter or round drinking glass, cut straight down through the dough, then lift the cutter straight back up. Do not twist the cutter to release the biscuit. If using a glass, you may hear a small release of air when the biscuit is cut through.
- Gently bring the remaining scraps of dough together, roll them out, fold the dough over itself, and cut additional biscuits. You should get about 10 biscuits total.
- Preheat the oven to 425°F. Arrange the biscuits on a nonstick baking sheet, leaving at least 1 inch of space between them. Refrigerate the biscuits for about 15 minutes while the oven preheats.
- Bake for 20–25 minutes, or until the biscuits have risen and are golden brown. Serve warm.
Notes
 Like this? Leave a comment below!